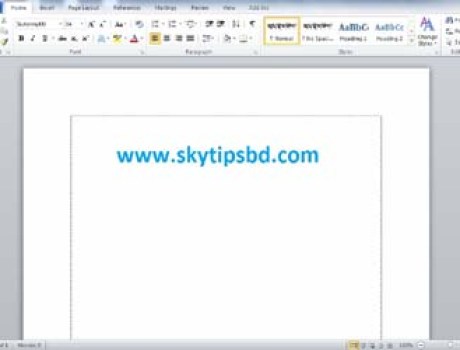
Show text boundaries on office 2010. This is the text boundaries options for Microsoft Word 2010 users. This is so simple for all but essential for newer. When you write on office 2010. You have to need to set the boundaries for that typing purpose.
Your text and other format are suitable for setting on the page layout. Though this is no need for master users.
See the images- This is Office 2010 start up screen-


How to set text boundaries on office 2010?
1. Click the start logo
2. Open the Microsoft Word 2010
3. Click File Menu
4. Click Options
5. Click Advanced tab
6. Click the options Which you need to set ( see the red line )
7. Click OK
Your writing page will be saved by the text boundaries.
Second options for all users :-
When you want to need more copy and paste options quickly so you have to need setup or click the check box for pasting purpose.
1. Copy any item ( First select the area or images or any items )
2. Generally we are clicking the paste options on paste menu But here the simple tips for that job no need to click the paste menu. Just
3. Click the check box (On) Use the Insert key for paste
Press the ” Insert ” key on your key board. see the images- ( you item will be pasted firstly and no need to click paste menu )

If it is helpful for you so send a comment.
If the tips are helpful for you, so please send us a feedback from interpersonal communication or comments us from below for our best impression. It takes just some seconds.


